
The Blog
You’ve invested in professional photos and done. Now make sure your listing gets posted for attention instead of looking like someone shuffled a deck of rooms.
This is something I see way too many agents miss out on. They either bore buyers by hiding their hero images of the property 20 images down, or show the same shots over and over again. Ideally, your photographer should return the edited images in an order and flow of the property that makes the most sense for your to post on the MLS. But this is not always the case.
So, before you post your pictures, here’s a guide to help get the most out of your images.
1. Start with a Bang: The Hero Shot

This is your curb appeal money-maker. It’s the first image buyers see, both on the MLS and third-party sites like Zillow and Realtor.com. Clean driveway, no trash bins, and no parked cars. Show the home like it’s already under contract.
Pro tip: If the backyard is a stunner (think: pool, view, entertainer’s dream), consider leading with that instead, or a killer aerial shot like pictured above.
2. Entryway or Foyer
This is your “welcome in” moment. If there’s a grand staircase, cool artwork, or architectural interest, don’t hide it halfway through the gallery. Use this photo to give buyers a sense of arrival.
3. Main Living Area
This should be the most inviting and lived-in space. Think cozy couch, styled shelves, open layout. Show it wide, bright, and in a way that makes people mentally place their dogs and toddlers there.
4. Kitchen
Arguably the most important room. Lead with the wide shot, then sprinkle in detailed images and alternate angles. Think clean countertops, visible appliances, and no clutter. Not even a rogue toaster.
5. Dining Area
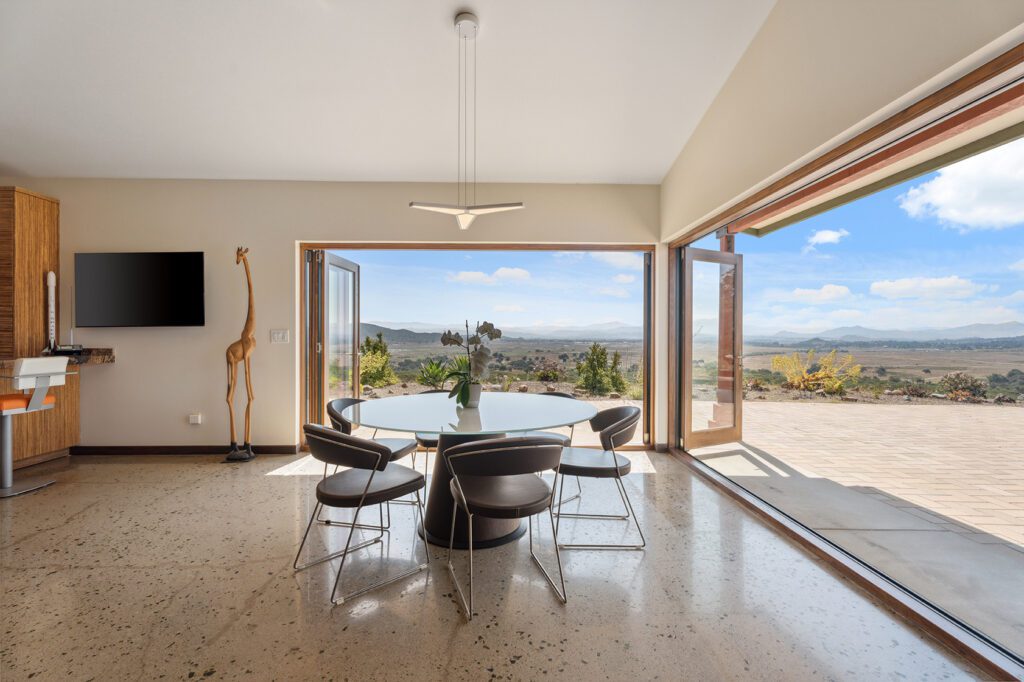
Even if it’s part of an open plan, give it its own moment. Bonus points if there’s a statement light fixture or built-in feature.
6. Primary Bedroom

Your sanctuary shot. First shot to include is a wide angle that shows the majority of the room. Then get more detailed and show off the space with your photographers creative shots like that above.
7. Primary Bathroom
If the bathroom’s got upgrades, show them. Lead with a wide shot, then follow up with details like the shower, tub, or vanities. Never include images of the toilet closet. If it’s included the shot, that’s fine but there’s no need to show the the toilet.
8. Secondary Bedrooms
Add these in the order they appear in the home. Keep the flow logical. Only one or two images need to be included.
9. Additional Bathrooms
Same as above. Make sure everything is clean and decluttered. Unless the powder room has some really extra personality, just one image of the space is enough.
10. Office or Flex Space
Work-from-home is still a thing. If the house has a usable office, loft, or bonus room, show it here. Keep it tidy and styled like it’s straight out of West Elm.
11. Laundry Room
If it’s nice, show it. If it’s dingy or in a garage, maybe don’t.
12. Garage
Only include if it’s a selling point. Finished? Epoxy floors? Tons of storage? Go for it. Otherwise, leave it out or save it for the end.
13. Backyard + Outdoor Living

Wrap things up with outdoor spaces. Show the yard, patio, pool, or view in their best light (literally). Twilight shots are great here if you ordered them.
14. Community Features (If Relevant)
If the property is in a gated neighborhood or has shared amenities, add them last. Think pool, tennis courts, or a clubhouse. Unless these are major selling points of the home, there’s no reason they should be included in front of the home images.
What to Avoid
- Jumping between rooms. (Living room, then bedroom, then back to kitchen.)
- Toilet-only shots. Enough said.
- Repeating the same angle 5 times. Be selective, even if you’re photographer delivers that many shots you don’t have to include them all.
- Uploading 75 images of one 1,200 sq ft home. Edit it down!
Why It Matters (and Why Most People Get It Wrong)
Most agents (or their admins) upload in the order they come in from the photographer. That means you’re leaving the story up to someone who may not be thinking about the buyer and what they want to see. Instead, think of your photos as a guided showing — you’re walking the buyer through the home, step by step.
Want more visual marketing tips that actually help you stand out? Follow me @closingphotos.
CATEGORY
8/25/2025

COMMENT LOVE